Wondering how to design custom scout patches for your group? This guide covers every step from concept to final product. They help groups stand out, celebrate achievements, and build identity. Designing the right patch takes a few smart choices, and we will walk you through exactly how to design your own custom scout patch for your group.
Let’s walk through them.
Start with the purpose.
What will your patch represent?
Is it for a camp, anniversary, hike, or new troop identity?
Knowing this helps guide the design and makes the badge more meaningful.
Keep the shape simple. Circles, shields, and rectangles work well for custom scout patches.
Avoid complex outlines if the patch will be small.
For size, 7–9cm across fits most uses.
Bigger patches work on jackets and bags. Smaller patches suit uniforms or woggles.
Materials matter. Most scout patches are embroidered or woven.
We produce both, based on the level of detail you want.
Woven patches have a smooth finish and capture small text and detail better.
Embroidered patches offer a raised texture and a more traditional look.
If you want a rugged, classic patch, go embroidered. If your design has fine lines or tiny text, choose woven.
→ Custom Woven Patches
→ Custom Embroidered Patches
Stick to 2–6 strong colours.
We use Pantone colour matching for every badge. This ensures your patch colours stay consistent across production, especially when reordering in future.
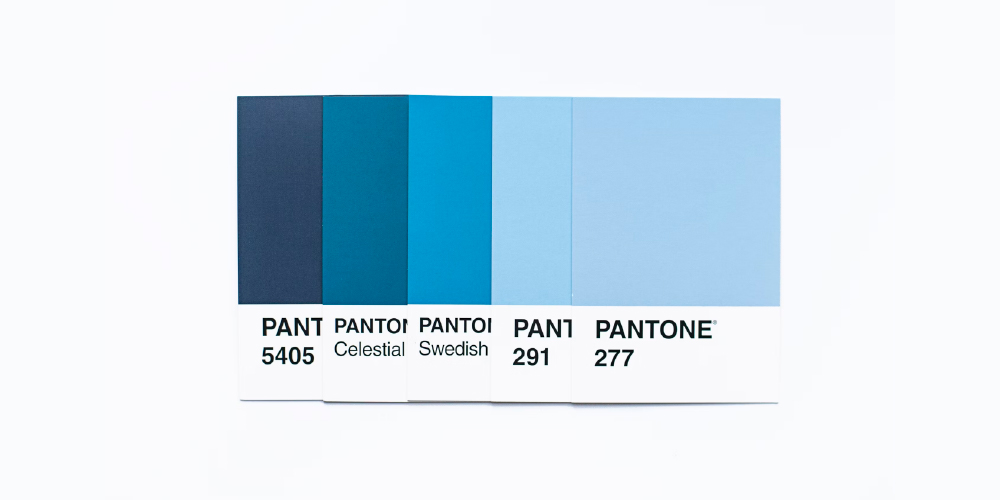
If your group already uses specific colours in a logo or uniform, just provide the Pantone codes. If not, we can match colours as closely as possible from a reference image.
Add shapes or icons that relate to your group. A pine tree, tent, fire, compass, or initials are common ideas.
Avoid too much detail—it may not stitch well. Simple graphics work best in embroidery.
If you do require a highly detailed patch, a sublimation print would offer a much better finish than woven or embroidered.
Learn more about the Pantone Colour system.
Simple designs stand out best.
Use bold lines, large fonts, and solid shapes.
Don’t crowd the patch with text.
Skip gradients and thin outlines—those can get lost in stitching.
If you do not have the artistic ability or know how to design custom scout patches, we can help. We offer a free design service with every purchase. Send us your idea, and we’ll create a digital mock-up before production.
How will the patch attach?
Choose based on how and where the patch will be worn.
Once we receive your design, we send back a digital preview.
You can request changes or approve it for production.
Nothing goes ahead until you’re happy.
What is the best size for scout patches?
Most groups choose 7–9cm across. It’s big enough to stand out but small enough for shirts, scarves, or bags.
Can I create a badge from my own sketch or logo?
Yes. Upload your drawing or logo, and we’ll create a clean digital version for approval.
How long does it take to receive my badges?
Our typical production time is 4–6 weeks, plus tracked shipping across Europe.
Want to design your patch now?
Get a free digital proof
Browse our full collection
We make it easy to bring your custom scout patch idea to life.